
BeFunky AI Image Editing Tool
- AI Improve Tools

- Dec 25, 2025
- 3 min read
Images tell stories, but sometimes they need a little help to look their best. Whether you are a hobbyist photographer, a blogger, or just someone who loves sharing pictures, editing tools can make a big difference. The BeFunky AI Image Editing Tool offers a smart, easy way to enhance photos without needing expert skills. This post explores how this tool works, what makes it stand out, and practical ways to use it for better images.
What Makes BeFunky AI Image Editing Tool Different
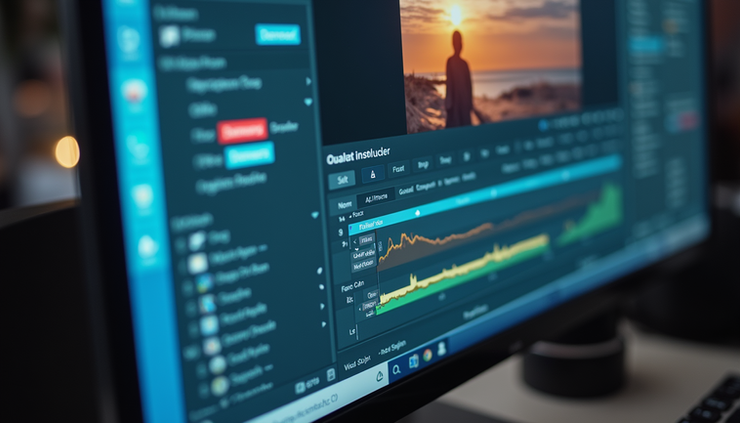
Many photo editors require time and knowledge to get good results. BeFunky’s AI tool simplifies this by using artificial intelligence to analyze your photo and suggest or apply improvements automatically. This means you can get professional-looking edits with just a few clicks.
Key features include:
Automatic enhancement that adjusts brightness, contrast, and color balance.
Smart background removal that isolates subjects cleanly.
AI-powered retouching for portraits, smoothing skin and removing blemishes.
Creative effects that transform photos with artistic filters.
The AI understands the content of your image, so it can make targeted changes rather than generic adjustments. This saves time and helps avoid over-editing.
How to Use BeFunky AI Image Editing Tool
Using the tool is straightforward, even for beginners. Here’s a simple workflow:
Upload your photo to the BeFunky platform.
Choose the AI editing option.
Let the tool analyze the image.
Review the suggested edits or apply them automatically.
Fine-tune any settings manually if desired.
Save or share your enhanced photo.
For example, if you upload a landscape photo taken on a cloudy day, the AI might brighten the image, boost colors, and sharpen details to make it more vibrant. For a portrait, it could smooth skin tones and brighten eyes without losing natural texture.
Practical Uses for BeFunky AI Image Editing Tool
This tool fits many needs, from casual to creative projects:
Social media posts: Quickly improve photos before sharing.
Blog images: Make visuals more appealing to readers.
Event photos: Enhance group shots or candid moments.
Product photography: Clean backgrounds and highlight details.
Artistic edits: Apply filters and effects for unique looks.
Because the tool is web-based, you don’t need to install software or have a powerful computer. This accessibility makes it ideal for users who want quality results without hassle.
Tips for Getting the Best Results
To make the most of the BeFunky AI Image Editing Tool, consider these tips:
Start with a high-resolution photo for clearer edits.
Use the automatic enhancement as a base, then adjust manually.
Experiment with different AI effects to find your style.
Combine AI background removal with manual touch-ups for complex images.
Save different versions to compare and choose the best.
Remember, AI tools are assistants, not replacements for your creative eye. Use the suggestions as a guide and trust your judgment.
Limitations to Keep in Mind
While the BeFunky AI Image Editing Tool is powerful, it has some limits:
It may struggle with very low-quality or blurry photos.
Complex backgrounds can sometimes confuse the AI during removal.
Artistic effects might not suit every photo or taste.
Manual adjustments are still necessary for perfect results.
Understanding these helps set realistic expectations and encourages exploring the tool’s full potential.
How BeFunky AI Image Editing Tool Fits into Your Workflow
Integrating this tool into your photo editing routine can save time and improve quality. For example, bloggers can quickly prepare images for posts without needing advanced software. Photographers can use it for fast previews or social media sharing. Even casual users can enhance vacation photos before printing or sharing with friends.
The tool complements other editing software by handling routine tasks, freeing you to focus on creative decisions.
Learn More and Visit BeFunky AI Image Editing Tool


Comments